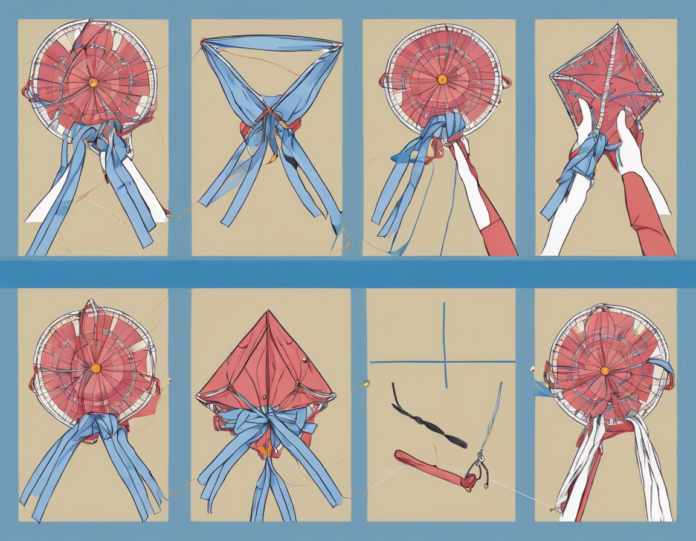
Kite flying is a timeless activity enjoyed by people of all ages around the world. It's a simple yet exhilarating way to spend time outdoors, connect with nature, and embrace the freedom of flight. However, as with any skill, mastering the art of flying a kite takes practice, patience, and a few helpful tips. One key aspect of successful kite flying is tying the kite properly to ensure it soars high in the sky without any mishaps. In this guide, we will delve into some kite tying tips to help you become a pro at flying these colorful creations.
Understanding Kite Anatomy
Before we dive into the kite tying techniques, it's essential to have a basic understanding of kite anatomy. Most kites consist of the following components:
- Spine: The central vertical stick or rod that gives the kite its structure.
- Spar: The horizontal stick or sticks that support the kite's shape and structure.
- Bridle: The strings or lines that connect the kite flyer's control point to the kite itself.
- Tail: Optional, but can provide stability and visual appeal to the kite.
Essential Kite Tying Supplies
To ensure a successful flying experience, you'll need a few key supplies for kite tying:
- Kite: Choose a kite that suits your skill level and flying conditions.
- String or Line: Opt for durable, lightweight string or kite line.
- Tape: Useful for reinforcing connections and securing loose ends.
- Scissors: For cutting the string to the desired length.
- Knot Guide: Helpful for learning and mastering various knots.
Proper Knot Tying Techniques
Knot tying is a fundamental skill when it comes to flying kites. Here are some essential knots to master:
-
Lark's Head Knot: This knot is used to attach the flying line to the bridle of the kite. Simply fold the line in half, pass the loop through the attachment point on the kite, and then pull the loose ends of the line through the loop.
-
Square Knot: Ideal for securing the spars together, the square knot is formed by crossing the two ends of the string and tying them in an over-and-under motion.
-
Bowline Knot: A secure knot for attaching the tail of the kite, the bowline knot forms a loop that won't slip under tension.
Tips for Secure Tying
To ensure your kite stays airborne and safe, consider the following kite tying tips:
- Check for Wear and Tear: Before flying your kite, inspect the strings, knots, and kite itself for any signs of damage. Repair or replace any worn-out components.
- Use the Right Knots: Different parts of the kite may require different knots for secure attachment. Refer to the kite's instructions or seek guidance from experienced flyers.
- Leave Some Slack: When tying the strings to the kite, leave a small amount of slack to allow for natural movement and adjustment while flying.
- Adjust for Wind Conditions: Depending on the wind strength and direction, you may need to adjust the kite's bridle and tail for optimal performance.
Troubleshooting Common Issues
Even with proper kite tying techniques, you may encounter some common issues while flying your kite:
- Kite Spinning: This could be due to an unbalanced bridle or uneven wind conditions. Adjust the bridle or tail to correct the spinning.
- Kite Dropping: If your kite keeps falling from the sky, check for tangled strings or insufficient wind. Untangle the lines and wait for a gust of wind before relaunching.
Safety Tips for Kite Flying
Lastly, it's essential to keep safety in mind while flying kites. Here are some tips to ensure a safe and enjoyable experience:
- Choose a Wide Open Space: Pick a clear area away from trees, power lines, and crowded spaces to fly your kite.
- Avoid Flying in Stormy Weather: Strong winds and lightning can pose a risk to both you and your kite. Wait for calmer weather conditions.
- Use Gloves: When handling the string, especially for larger kites, wearing gloves can protect your hands from rope burns.
Frequently Asked Questions (FAQs)
1. Can I use any type of string for flying a kite?
- No, it's crucial to use a strong and lightweight kite string or line specifically designed for flying kites. Fishing line or regular string may break easily.
2. What is the best time of day to fly a kite?
- The ideal time for kite flying is when the wind is steady but not too strong, typically in the late morning or early evening when the air is cooler.
3. How high can a kite fly?
- The height a kite can reach depends on various factors, including the kite's design, wind conditions, and the length of the string. Some kites can soar hundreds of feet into the sky.
4. What should I do if my kite gets stuck in a tree?
- Avoid yanking the string or trying to climb the tree yourself. Instead, gently tug on the line to see if the kite can be dislodged naturally. If not, seek assistance from a tree service professional.
5. Are there any regulations or rules for flying kites in public areas?
- Before flying your kite in a public space, check for any local regulations or guidelines regarding kite flying. Some areas may have restrictions on kite size, height, or flying near airports.
Mastering the art of kite tying can greatly enhance your kite flying experience, ensuring that your kite takes to the skies smoothly and gracefully. By understanding the basics of kite anatomy, learning essential knots, and following kite tying tips, you'll be well on your way to becoming a skilled kite flyer. Remember to prioritize safety, enjoy the freedom of flight, and have fun exploring the endless possibilities of kite flying.


Recent comments